


DIY Cold Plunge
Introduction
Cold plunges have surged in popularity, becoming a sought-after practice for both physical and mental wellness.Cold water therapy—immersing oneself in cold water—offers a myriad of benefits. Athletes use it for muscle recovery, reducing soreness and inflammation. Mental health enthusiasts praise its effects on mood enhancement and improved focus.
Despite the benefits, purchasing a professional-grade cold plunge can be costly. This is where theDIY approach shines. Learninghow to build your own cold plunge at home not only saves money but also provides a rewarding hands-on project. Embracing aDIY cold plunge allows you to customize your setup to meet personal preferences and space constraints.
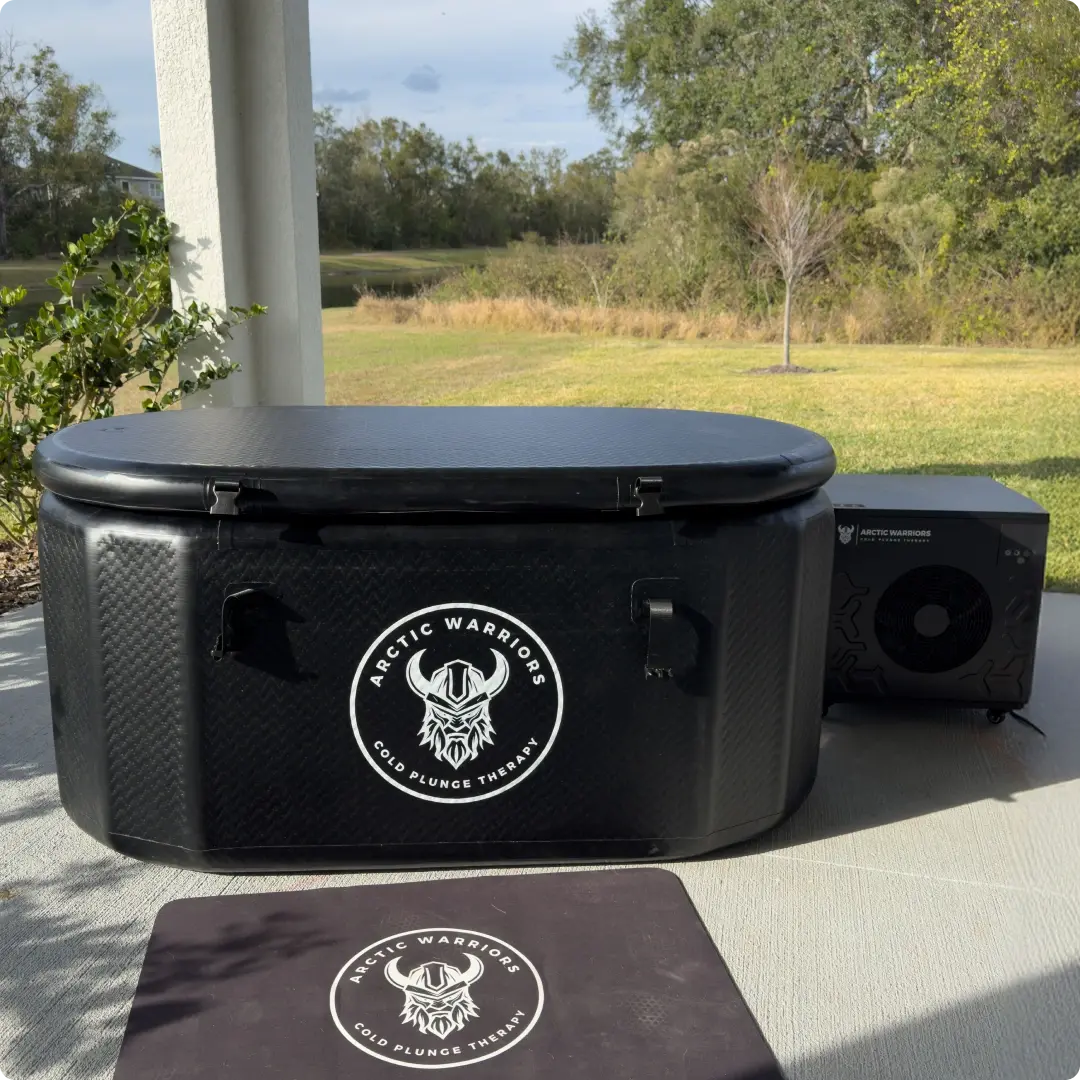
For those who prefer a ready-made solution, there are various options available online. For instance, Arctic Warriors offers a range of professional-grade cold plunge tubs that cater to different needs and budgets.
In this article, we will guide you through the essential steps to create your own cold plunge tub, ensuring you can enjoy all the incredible rewards of cold water therapy right from the comfort of your home.
Understanding Cold Plunge Benefits
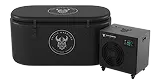
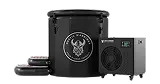
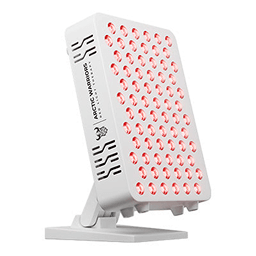
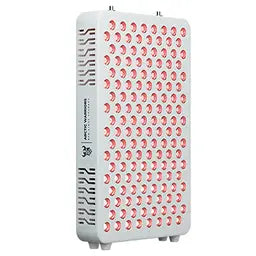
The benefits of cold water therapy are increasingly recognized in fitness and wellness circles. Cold plunges, such as those offered by the Arctic Warrior Ultimate All-in-1 cold plunge system, provide a range of physical and mental benefits.
Physical Benefits
- Muscle recovery: After intense workouts, immersing in cold water can significantly reduce muscle soreness and speed up recovery. Athletes like Joe Rogan have popularized the practice for its effectiveness. In fact, cold plunges after workouts are recommended by many health professionals.
- Reducing inflammation: Cold water constricts blood vessels, which helps to decrease inflammation and swelling, common after strenuous physical activities.
- Enhanced injury recovery: Regular cold plunges can aid in the healing process of injuries by improving circulation and reducing pain.
Mental Benefits
- Improved focus: Exposure to cold water triggers the release of adrenaline, enhancing mental clarity and focus.
- Mood enhancement: Cold plunges stimulate the production of endorphins, often referred to as "feel-good" hormones, improving overall mood.
- Potential immunity boost: Regular cold exposure can strengthen the immune system by increasing white blood cell count and stimulating the circulatory system.
Optimal Temperatures
For effective sessions, temperatures between45-55°F are recommended. This range provides an optimal balance, ensuring you reap the full benefits without risking hypothermia. To maintain these temperatures effectively, using a water chiller designed for ice baths or cold plunges can be beneficial.
By integrating cold plunges into your routine using advanced systems like the Arctic Warrior PRO MAX Water Chiller/Heater, you can experience significant improvements in both physical recovery and mental health.
Choosing the Right Design and Materials for Your Cold Plunge Tub
When building your own cold plunge tub, selecting the right design and materials is crucial. Here are some options to consider:
Design Options
- Stock Tanks: Affordable, easy to find at farm supply stores, available in various sizes.
- Chest Freezers: Excellent for maintaining low temperatures, often come with built-in insulation.
- Inflatable Tubs: Portable, easy to set up and store when not in use.
Material Choices
Wood
- Benefits: Natural aesthetic, good insulator as highlighted in this blog post about the benefits of using wood in building construction.
- Drawbacks: Susceptible to water damage without proper treatment, more maintenance required.
Concrete
- Benefits: Extremely durable, customizable shapes and sizes as mentioned in this article on the benefits of using concrete.
- Drawbacks: Heavy and permanent, higher initial cost and labor-intensive installation.
Plastic
- Benefits: Lightweight, inexpensive, available in various shapes.
- Drawbacks: Less durable over time, may not provide sufficient insulation without additional materials.
Choosing the best materials for a cold plunge tub depends on your specific needs and constraints. Whether you opt for a stock tank's simplicity or the robust permanence of concrete, each material offers unique advantages tailored to different DIY cold plunge setups.
Step-by-Step Guide: Building Your Own Cold Plunge Tub at Home
Converting a Chest Freezer
Creating a cold plunge tub from a chest freezer is a popular and efficient method. Here's how you can build your own cold plunge tub using this approach:
1. Size Requirements:**
- Chest Freezer Size: Choose a chest freezer that is spacious enough to accommodate your body comfortably. Common sizes range from 7 to 15 cubic feet.
2. Sealing Seams
- Waterproofing: Seal all internal seams with waterproof silicone to prevent leaks.
- Lining: Consider adding a waterproof liner for an extra layer of protection.
3. Temperature Control**
- Thermostat: Install an external thermostat to control the temperature, maintaining it between 45-55°F.
4. Safety Measures
- Ground Fault Circuit Interrupter (GFCI): Ensure the freezer is plugged into a GFCI outlet to reduce the risk of electrical shock.
- Cover: Use an insulated cover when not in use to maintain water temperature and prevent accidents.
Stock Tanks and Inflatable Tubs
For those who prefer alternative setups, stock tanks or inflatable tubs offer viable options. Here’s how you can build your own cold plunge using these materials:
Stock Tank Setup:
- Selecting a Tank: Choose a galvanized steel or plastic stock tank with a capacity of around 100-300 gallons.
- Insulation: Insulate the exterior of the tank with foam boards or blankets to retain cold temperatures.
Necessary Components:
- Pump and Filter System: Install a submersible pump and filter system to keep the water clean. A sand or cartridge filter works well for this purpose.
- Cooling Method: Utilize ice packs or an external water chiller to achieve desired temperatures.
Inflatable Tub Setup:
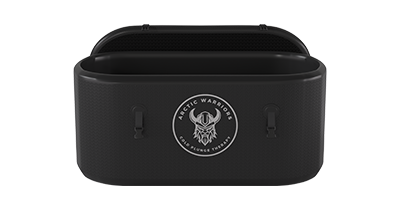
- Choosing an Inflatable Tub: Opt for an inflatable tub designed for durability and ease of setup, such as the Arctic Warrior Ice Bath XL, which is perfect for cold water therapy.
- Reinforcement and Insulation: Reinforce the base with anti-slip mats and insulate the sides with thermal blankets.
Additional Equipment:
- Thermometer: Place a floating thermometer in the water to monitor temperature levels consistently.
- Maintenance Tools: Keep basic maintenance tools like skimmers and water test kits on hand for regular upkeep.
By following these detailed instructions, you can effectively create your own cold plunge tub at home, providing you with easy access to cold water therapy whenever needed.
Filtration, Maintenance, and Safety Considerations for Your DIY Cold Plunge Tub
Maintaining the cleanliness and safety of your cold plunge tub is crucial for an enjoyable and safe experience. Here are essential aspects to consider:
Filtration Systems for Cold Plunge Tubs
To keep your cold plunge water clean and safe, implementing a reliable filtration system is imperative. Recommended options include:
- Sand Filters: Effective at removing debris and particles from the water.
- Cartridge Filters: Easy to replace and maintain, providing efficient filtration.
- UV Sterilization: Uses ultraviolet light to kill bacteria and other microorganisms without adding chemicals.
For high-quality water filters that suit your specific needs, consider exploring the options available at Arctic Warriors. Each of these systems offers benefits depending on your specific needs and budget.
Regular Maintenance Tasks
Ensuring the longevity of your cold plunge tub requires regular maintenance. Key tasks include:
- Checking for Leaks: Inspect seams, connections, and any potential weak points regularly to prevent water leakage.
- Replacing Filters: Depending on usage, filters should be replaced periodically to maintain optimal filtration efficiency.
- Water Quality Testing: Regularly test the water's pH levels and chemical balance to ensure it remains safe for use.
These tasks help in avoiding unnecessary repairs and prolonging the lifespan of your setup. For those who want to simplify their maintenance routine, consider investing in a maintenance kit.
Essential Safety Features
Safety should never be compromised when setting up your cold plunge tub. Incorporate these features into your design:
- Anti-Slip Flooring: Install anti-slip mats or flooring around the tub area to prevent accidents due to slippery surfaces.
- Proper Lighting: Ensure adequate lighting around the tub, especially if it's located outdoors or in a dimly lit area, enhancing visibility and safety.
By focusing on these aspects, you can create a safer environment for cold plunges.
Implementing these practices makes maintaining your DIY cold plunge tub simpler while ensuring that it's always ready for use.
Cost Considerations and Budget-Friendly Options for Building a Cold Plunge Tub at Home
When it comes to the cost of building a DIY cold plunge tub, several factors influence the overall expenditure. Sourcing materials such as a chest freezer, stock tank, or inflatable tub typically ranges from $100 to $500. Additional components like pumps, filters, and sealing materials can add another $50 to $200.
Breakdown of Potential Costs
- Chest Freezer: $200 - $500
- Stock Tank/Inflatable Tub: $100 - $300
- Pumps and Filters: $50 - $150
- Sealing Materials: $20 - $50
These prices are approximate and can vary based on quality and brand.
Budget-Friendly Options
For those on a tighter budget:
- Opt for a basic stock tank setup.
- Use second-hand materials where possible.
- Simplify the design by focusing on essential components only.
DIY options provide flexibility in terms of cost and customization, making it feasible for many budgets while still delivering the benefits of regular cold plunges.
Practice of Cold Water Therapy with Your Personal Cold Plunge Tub
Building your own cold plunge tub at home opens up the opportunity for regular cold water therapy, which has numerous health benefits.Ice therapy is known to:
- Reduce muscle soreness and inflammation
- Enhance mental clarity and focus
- Boost overall immune function
By taking the initiative to create your own cold plunge experience, you can enjoy these advantages whenever you want, right in the comfort of your home. With consistent use, you can expect to see improvements in both your physical and mental well-being.
Remember, the key is consistency. Aim for sessions lasting between 5-10 minutes to allow your body to fully adjust to the cold. Each plunge not only acts as a small stressor but also helps build resilience against everyday stresses.
By learning how to build your own cold plunge, you're not only gaining a therapeutic tool but also engaging in a fulfilling DIY project. Embrace the process and enjoy the many benefits that cold therapy has to offer.
If you're in search of top-notch materials to construct your personal cold plunge tub, consider checking out options such as those provided by Arctic Warriors, a company that specializes in ice baths and water chillers.
FAQs (Frequently Asked Questions)
What are the benefits of cold water therapy?
Cold water therapy offers numerous physical benefits, including relief from muscle soreness and enhanced recovery from injuries. Additionally, it provides mental benefits such as improved focus, mood enhancement, and a potential boost to immunity through regular exposure to cold water.
What materials are recommended for building a DIY cold plunge tub?
When constructing a DIY cold plunge tub, suitable materials include wood, concrete, and plastic. Each material has its own advantages depending on the design you choose, such as stock tanks or chest freezers.
How can I convert a chest freezer into a cold plunge tub?
To convert a chest freezer into an effective cold plunge tub, you'll need to ensure proper size requirements and seal seams effectively to prevent leaks. A step-by-step guide will help outline the necessary modifications for optimal performance.
What filtration systems should I use for my DIY cold plunge tub?
Recommended filtration systems for maintaining clean water in your cold plunge tub include sand/cartridge filters or UV sterilization units. Regular maintenance tasks like checking for leaks and replacing filters will also ensure the longevity of your setup.
How much does it cost to build a DIY cold plunge tub compared to buying one?
The cost of building a DIY cold plunge tub can vary based on the materials you choose and the complexity of your design. Generally, constructing your own is more budget-friendly than purchasing pre-made models, providing an economical option without sacrificing quality.
What safety features should I consider when building my cold plunge tub?
Essential safety features to incorporate into your DIY cold plunge design include anti-slip flooring and proper lighting. These elements help create a safe environment for users while enjoying the health benefits of regular cold plunges.